Quick Start
Get HaLOS running on your Raspberry Pi in under five minutes.
Prerequisites
- Raspberry Pi 4, Raspberry Pi 5, or HALPI2
- SD card or SSD (16 GB minimum, 32 GB+ recommended)
- Internet connection — required on first boot to download container images
- Ethernet cable (recommended) or WiFi access via AP image
- Another device (laptop, phone, tablet) with a web browser
1. Download the image
Download your preferred image from the HaLOS releases page.
Not sure which image to pick? See Choosing an Image. For a generic Raspberry Pi without marine needs, start with Halos-RPI.
2. Flash the image
- Download and install Raspberry Pi Imager.
- Insert your SD card or connect your SSD via a USB adapter.
- Open Raspberry Pi Imager, click Choose OS → Use custom, and select the downloaded HaLOS image.
- Select your target drive and click Write.
Do not apply OS customization
When Raspberry Pi Imager offers to apply OS customization settings, click No. HaLOS has its own first-boot configuration.
For HALPI2 with an NVMe SSD, follow the HALPI2 flashing instructions instead.
Already running HaLOS?
If the device is already running and reachable over SSH, you can re-flash it without removing the storage media. See Flashing Over the Network.
CM5 with eMMC
If flashing a HALPI2 image to a Compute Module 5's eMMC, you must edit config.txt on the boot partition after flashing: comment out the dtparam=sd=off line. Without this change, the system won't boot. See Troubleshooting for details.
3. Boot and connect
Internet required
HaLOS downloads container images on first boot. The device needs internet access before the web interface becomes available.
With Ethernet (recommended): Connect the Pi to your network with an Ethernet cable, then power on. The device gets internet access immediately via DHCP. Wait 2–3 minutes for containers to download and start, then open https://halos.local/.
Without Ethernet (AP image only): Use an AP image variant. After powering on:
- Connect your laptop/phone to the
Halos-XXXXWiFi network (password:halos1234). - Open https://halos.local:9090/ — this is Cockpit, which runs without containers.
- Log in with username
pi, passwordhalos. - Go to Networking and connect the device to your WiFi network (one that has internet access).
- Wait 2–3 minutes for containers to download, then open https://halos.local/.
4. Accept the certificate warning
Your browser will display a certificate warning because HaLOS uses a self-signed certificate. This is expected — accept the warning to proceed. You only need to do this once per hostname.
5. Log in
Enter the default SSO credentials:
| Username | admin |
| Password | halos |
Change default passwords immediately
After logging in, change the SSO password through the Authelia portal and the system password (pi user) through the Cockpit Users panel. See First Boot — Default credentials for details.
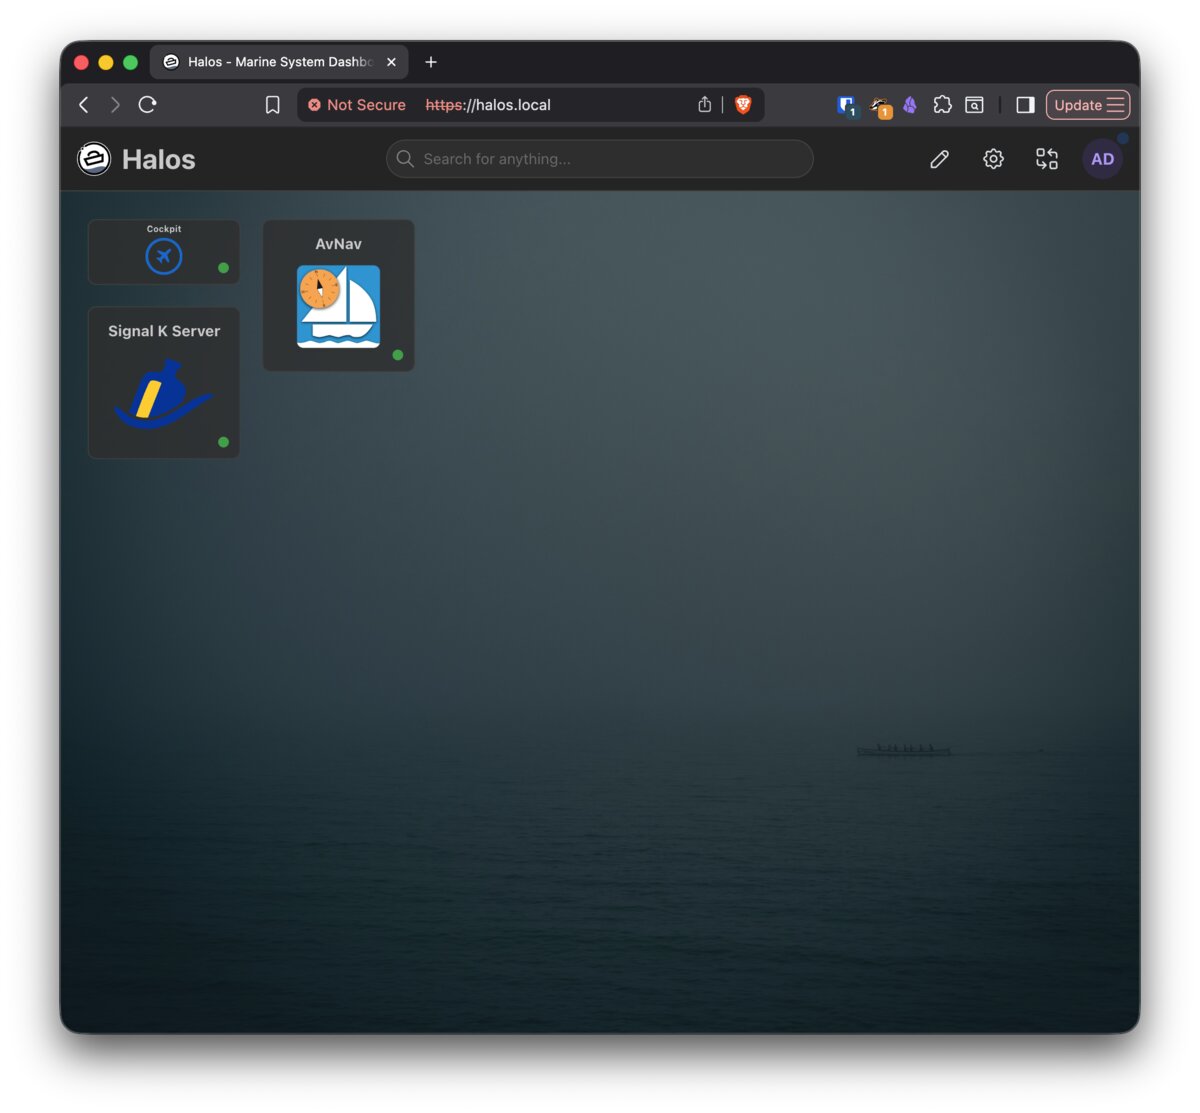
You're now on the HaLOS dashboard — a launchpad for all installed services.
Next steps
- First Boot — Detailed walkthrough of the boot process, connectivity options, and initial setup
- Web Interface — Learn how the web interface is organized
- Installing Apps — Browse and install applications from the container store
- Marine Apps — Set up Signal K, Grafana, and other marine applications